Dress Up Your Letters With Joya Rose Of Joya Rose Illustrations
We are always looking for fun ways to dress a letter, so we asked hand-lettering & illustration master Joya Rose for a few of her favorite ways. Find out how to personalize your letters for #write_on with these pro (and wallet friendly) tips! And p.s. check out Joya's #write_on journey on Instagram: @joyarose. -Hello!Lucky & Eggpress
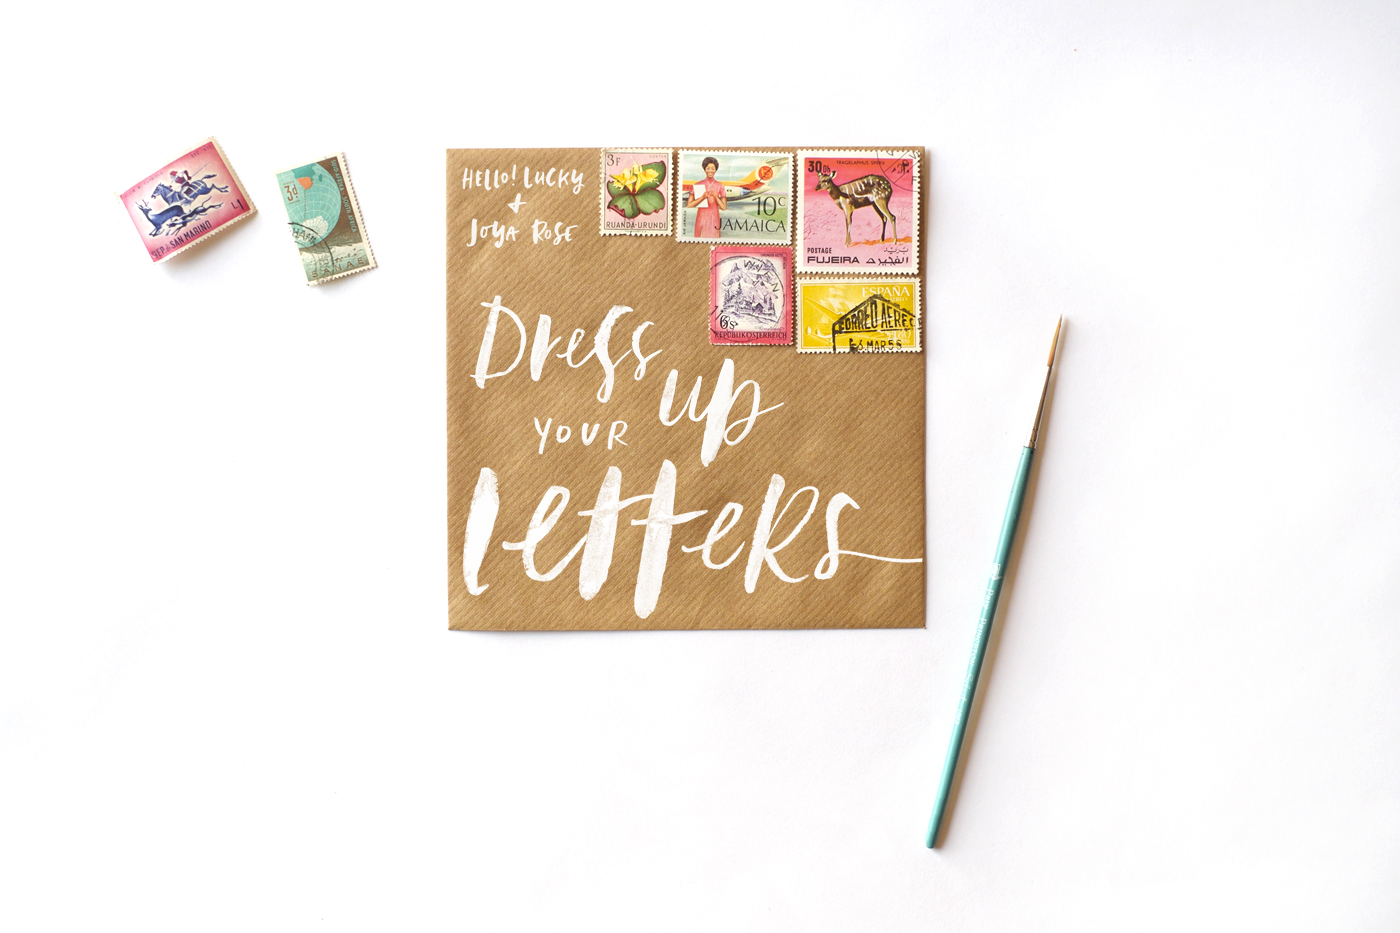
Getting mail is SO FUN. But so is sending it! For me, sending someone a note by snail mail has the same kind of joy in it as wrapping up a gift - and these days, it’s just as special! The excitement and joy the month of April will bring to the lucky recipients of letters & cards sent by #write_on ambassadors is surely immeasurable - but I say, let’s kick it up a notch and make the OUTSIDE of your mail just as fun as the inside! My favorite go-to ways for doing this are:
Adding colorful, vintage stamps
Using big, bold lettering styles
Adding stickers to the envelope
Making an envelope from patterned paper
As far as tools & materials - you can pretty much use anything you have lying around the house! An old magazine, a ball point pen, and some scotch tape will do you just fine. Some of my favorite tools - with the chew-marks to prove it! - are described below.

Silk ribbon: I love adding texture to mailed pieces (on the inside, of course) - which can be twine, dried flowers, feathers, ribbon, or anything you like. This ribbon is from Silk & Willow.
Gouache: gouache is basically an opaque watercolor, which lends itself very well to painting color on color, or white on color, as it won’t fade into the paper as much as watercolors will. This one is Winsor & Newton.
Brush pen: the color brush by Pentel is one of my favorite tools; it acts like a paint brush but is entirely self-contained, and never needs to be dipped in ink.
Chalk pen: this pen is great for getting nice clear whites on colored or black papers - from Chalk Ink.
Washi tape: obviously this stuff is amazing and has unlimited uses - I’m a traditional metallic-gold kind of girl - this one from one of my FAVORITE art suppliers, Uguisu.
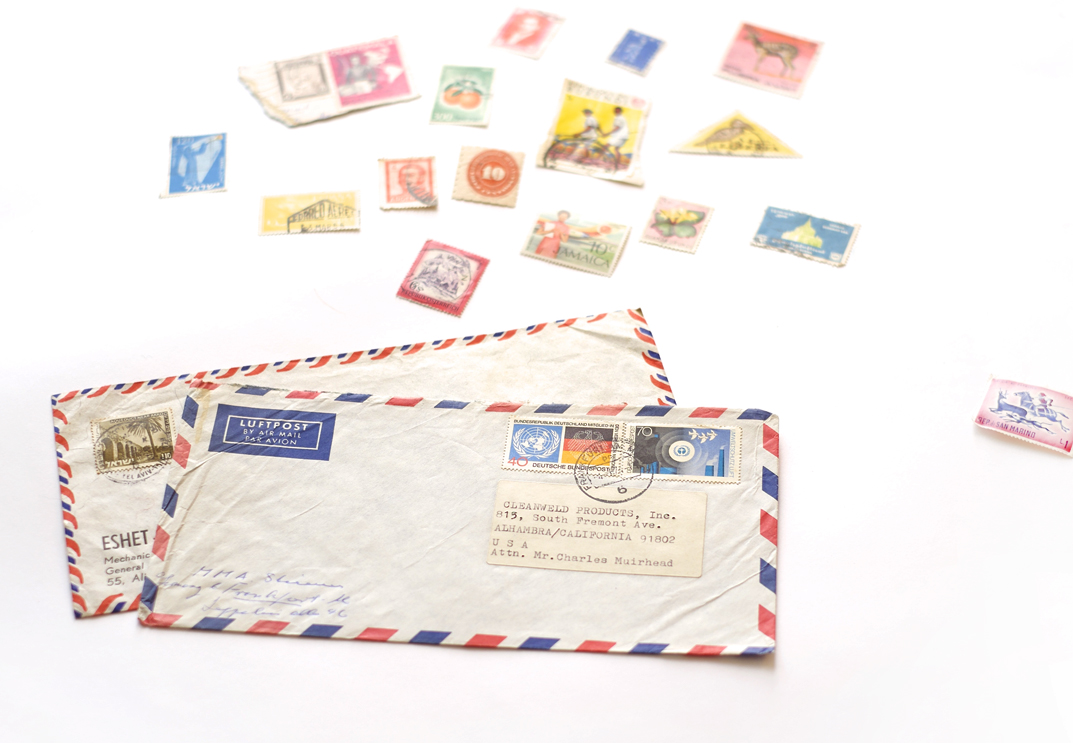
VINTAGE STAMPS
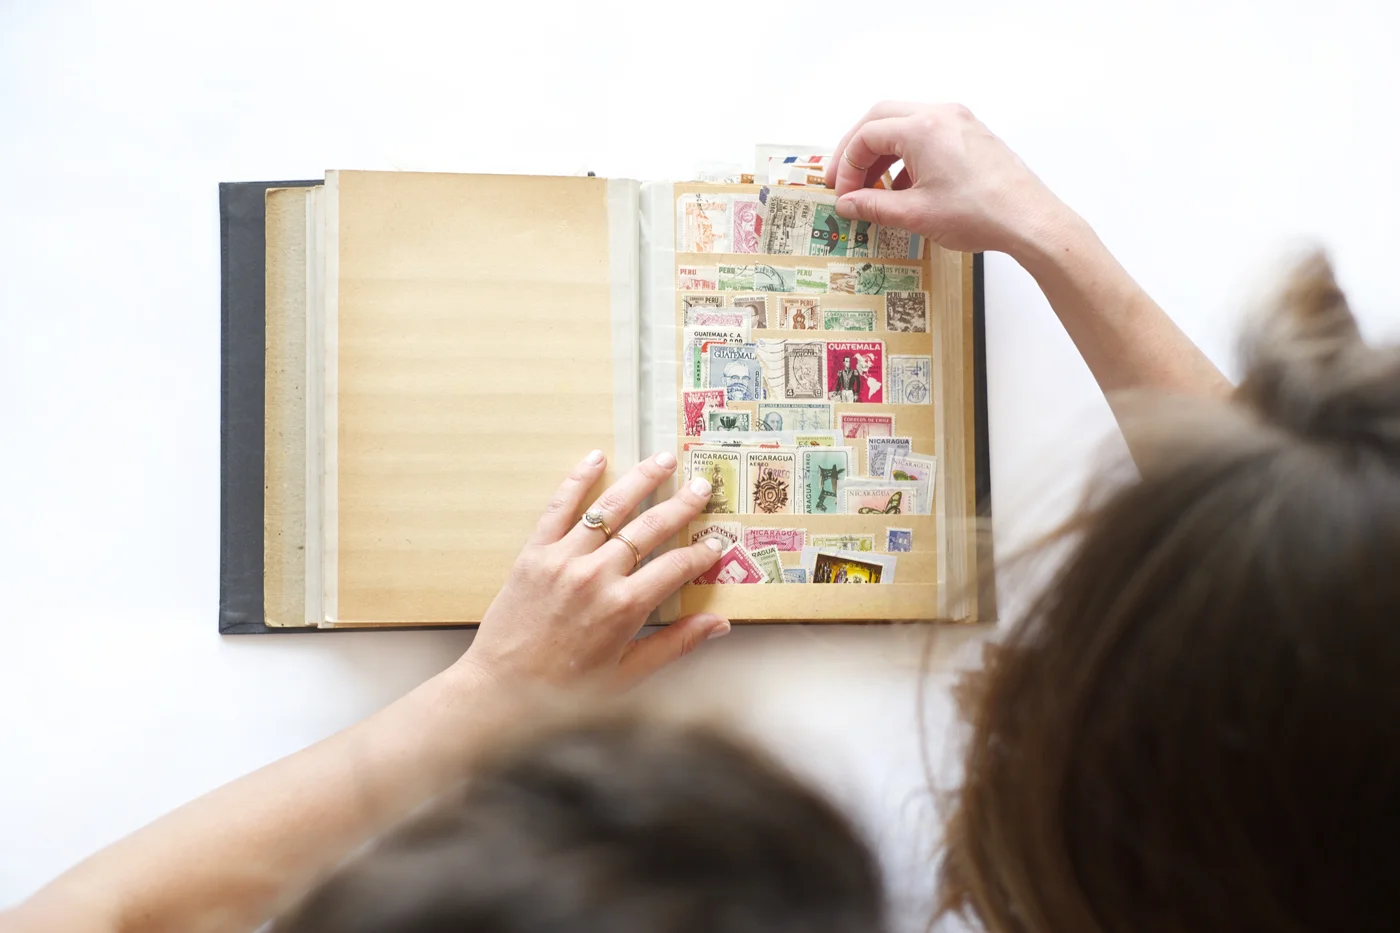
If you like color, paper, art, history, or all of the above, you love stamps (you just might not know it yet). I have the incredibly good fortune to live right next to a good friend and avid stamp collector. It is so much fun to pour over these tiny little art pieces - in this case, sorted by country - and get a history lesson in the process. To get your hands on some of these beauties, you can do what my friend does and buy them from former collectors at estate sales (may they rest in peace in stamp heaven), go to your local stamp store (a real thing!), or you can shop for more specific color schemes or categories on eBay and etsy. Unused stamps never lose their value in their country of origin, so you can use a hodge-podge of real stamps to make up the necessary postage!
For this particular envelope I went for bright pops of color & tropical illustrations, including stamps from Israel, Jamaica, Austria, and a particularly special triangular number from Liberia.
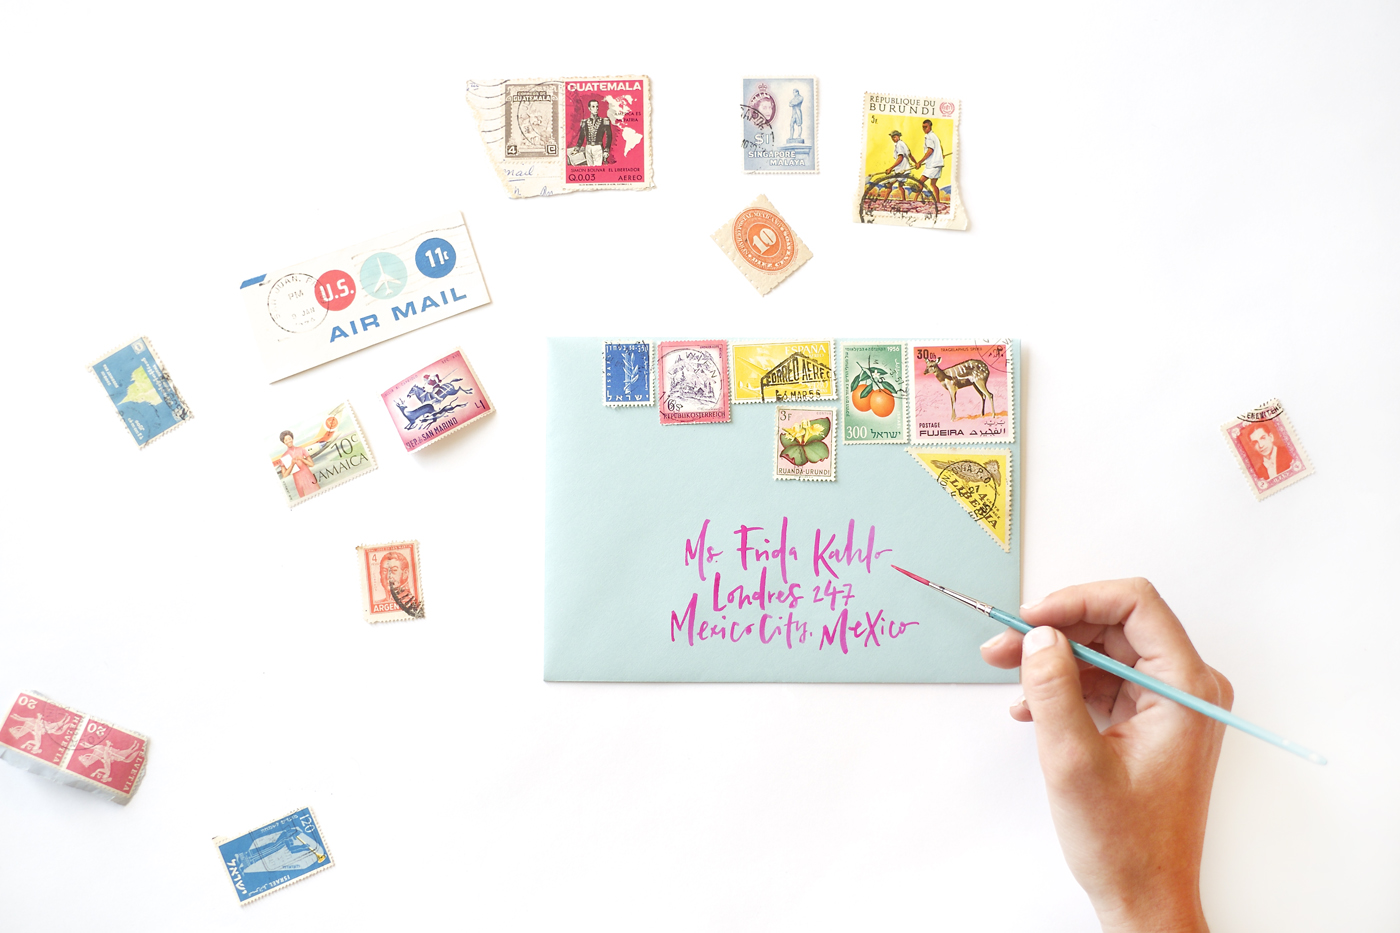
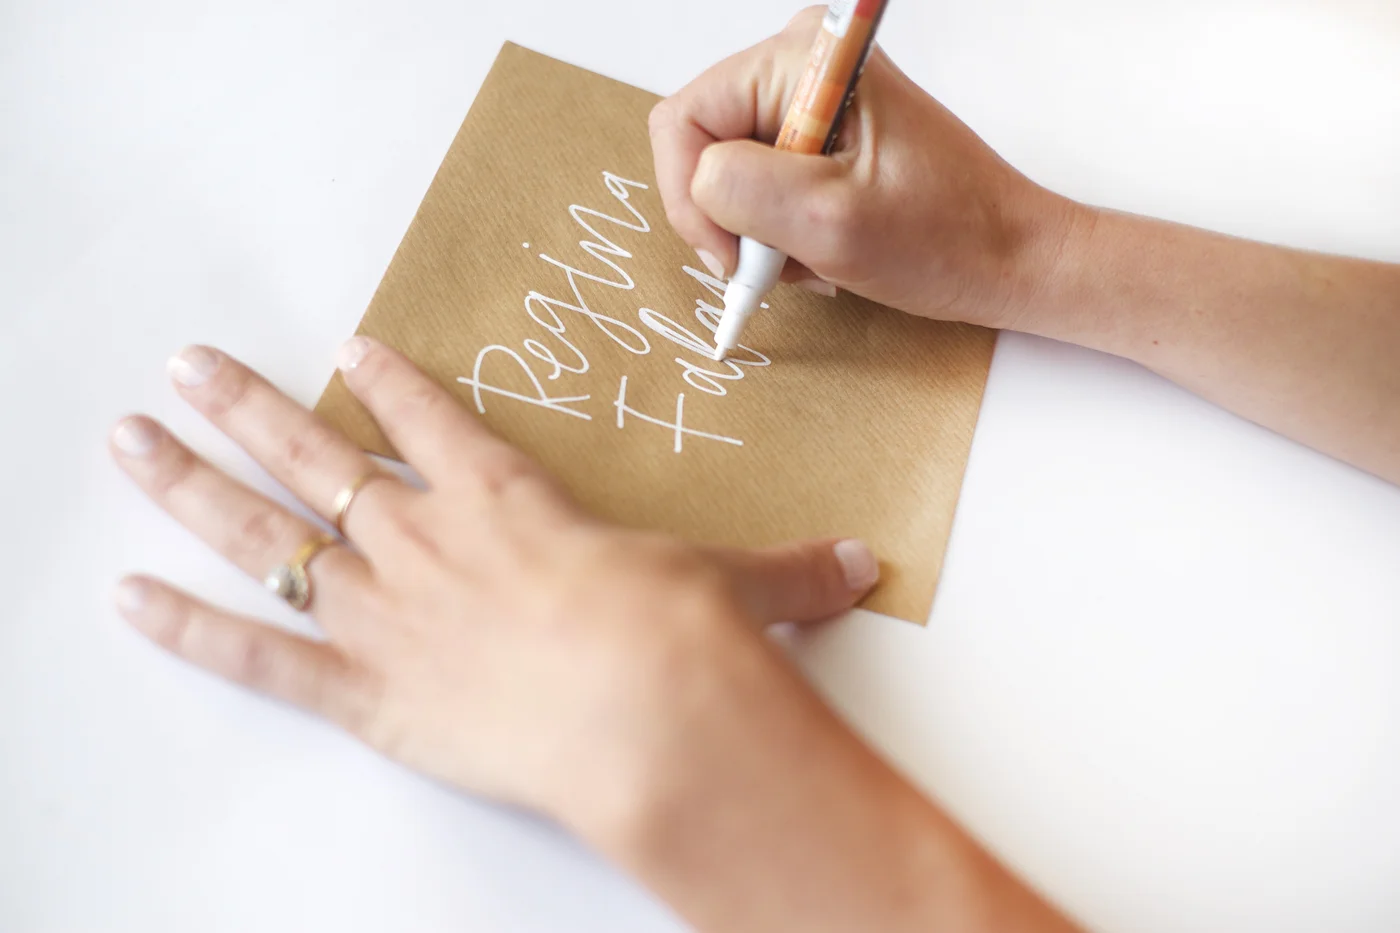
LETTERING
The thing I love most about lettering is how expressive it can be. Everyone has a unique hand, and the way we write words reflects how we feel at that moment; like capitalizing something we REALLY want to emphasize. Using highly contrasting styles and sizes can be a quick and easy way to bring an extra element of drama to an envelope. The sky’s the limit here, so I went for the basics: simple shapes and neutral colors to create a clean, whimsical effect.

TIP: To create a look similar to that of a calligraphy pen, simply thicken the down-strokes of your letters (any time your pen is moving from top to bottom), like I am doing to the “L” below. It will add instant depth and character to your letters.
STICKERS
There exists a vast and unknowable universe of sticky paper-accessories at stores like Michaels and Paper Source. Enter at your own risk - you may never come out! I went for simple banner stickers, which make for a clean, elegant way to dress up a very simple envelope.

MAKE YOUR OWN ENVELOPES
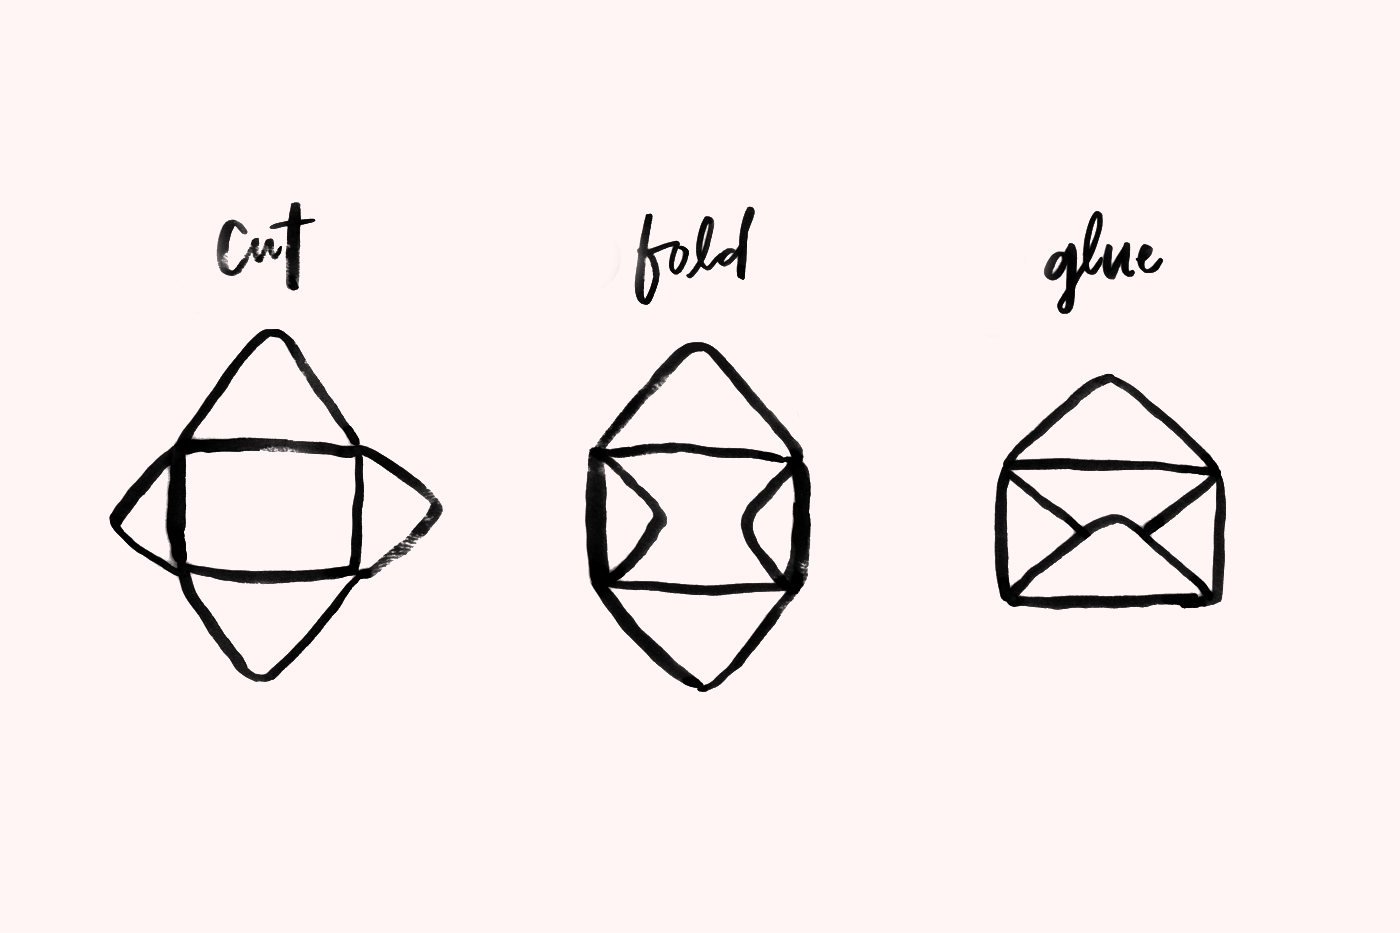
What is an envelope? Paper, folded and glued so that other papers can’t get out. Making your own envelopes can be a very fun and inexpensive way to spice up your mail - and opens up UNLIMITED possibilities for envelope sizes, shapes, patterns, & colors.

Instead of buying an envelope template, make your own! Your envelope can be any size you want, and can open anywhere you choose. To start out, deconstruct an envelope you already have, and trace out the shape on the paper you’ll be using for your home-made envelope (note: if you’re planning on making lots and lots of envelopes, make a template by cutting out the shape in a thick card stock or cardboard). Then once you’re comfortable with the general construction, you can start creating your own designs (square, circular, heart-shaped - sky’s the limit).

For this one I used waxed Japanese wrapping paper (from Uguisu). Since it worked best for my pattern, I chose a vertical orientation, which meant that instead of the shorter flaps being on the inside, they were on the outside. Any kind of glue will work for the project - elmer’s, glue sticks - even double-stick tape!

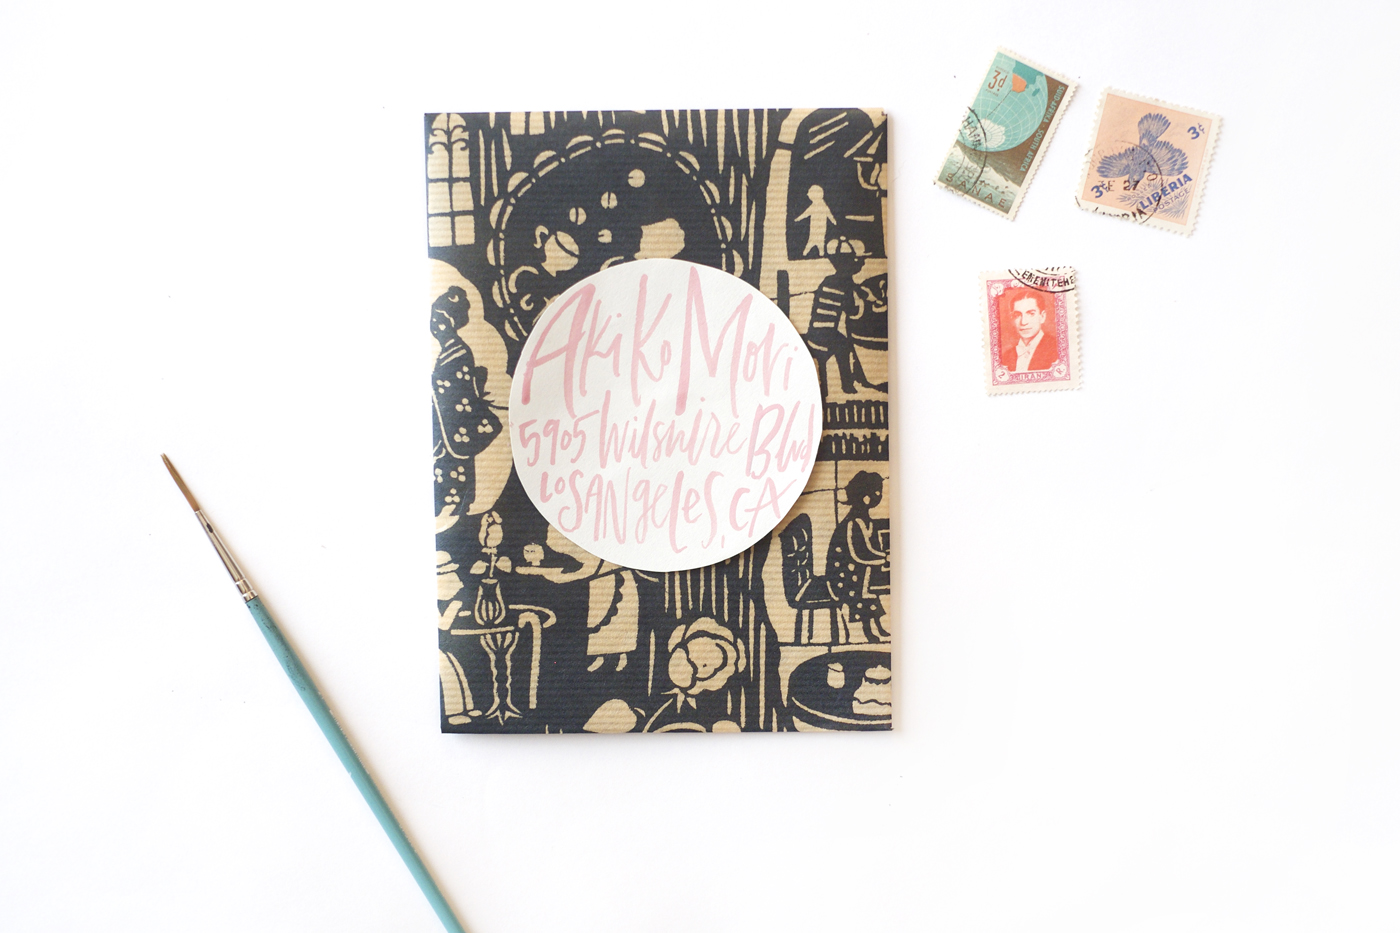
Since ink disappears on a bold pattern like this, I had to add a label to the front of my envelope to write the address on. Taking my cue from the paper pattern, I made a fun circular label painted with gouache. Sticky rectangular labels (like these) also work great for this.
Now all there is left to do is get writing! You can follow my #write_on journey on Instagram at @joyarose - I look forward to seeing your creations!
Post by Joya Rose of Joya Rose Hand-lettering & illustrations for #write_on.